Spores
I adore ferns, and I have always wanted to grow my own. I have divided them before and whilst an effective way of filling a space, this doesn't provide me with the satisfaction I crave, that feeling of achievement, that sense of pride. I am now attempting to grow some from spores. Spores are essentially like seeds but really tiny and pollen-like. They can be found on the underside of a ferns foliage, like brown Limpets at the beach, clinging on for dear life. Remove a leaf, dry it and voilà! spores-a-plenty.
The difference between seeds and spores is that the latter grow differently, going through a prescribed natural cycle prior to becoming full ferns that can be planted out. First comes a mat of green filaments over the soil surface, next gametophyte appear and as they increase in size and develop fronds they become sporophyte, the gametophyte foliage dies back, more fronds appear and these sporophyte eventually become ferns.
I realise from the process of collecting spores above that I could do this myself, but I really want to try growing some evergreen ferns I don't have, something a little different. Step up the Hardy Plant Society and my first ever order from their immensely impressive seed-list. I have chosen Austroblechnum microphyllum (formerly Blechnum microphyllum) and Polypodium
scouleri.
Thanks to some research I have done reading literature from the British Pteridological Society, The American Fern Society, and Neil Timm I have learn't the basics of how to propagate ferns. When it comes to plant-life and the growing of all things green, I have the patience of a saint. This will come in useful as I have learnt that this process can take anything from 6 months to a year to achieve a result of any value. I have taken the main elements from what I have absorbed in the steps described below.
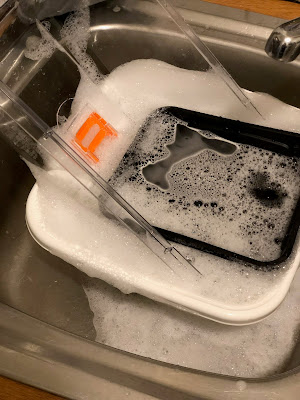
1) Using a weak bleach solution, the first step was to clean and rinse the growing equipment. I had bought a new heated propagator especially for this purpose but still cleaned it.
2) Compost has been sorted, big bits removed, and placed in a container with holes in the bottom. This can be done outside but I've opted for over the sink. If done outside, a paper-towel over the soil would block any air-born seeds from falling in and contaminating the soil. It also stops any horrid splash-back from the next step.
3) Boiling water is poured slowly over the compost, this disinfects the growing medium. The process is repeated a couple of times, the soil left to drain and cool. This can also be achieved in a microwave but we've never owned one. :)
4) The spores really are small, this packet looks like ground saffron, the other packet looked empty, but I am convincing myself that it wasn't. These have been dusted over the surface of the moist compost.
5) And there in its new home for a undetermined length of time they will sit. When they dry out I will be spraying with distilled water. This is another fingers crossed and hope for the best moment.


Comments